Using the Tyndale WebFax Service
1. In order to use the Tyndale WebFax Service, you need a login and password. To request this, please visit https://helpdesk.tyndale.ca and submit a new IT Service Request of the "Login Issues" variety with your information. Once you have been assigned a username and password, please return to this tutorial to continue.
2. To start sending a fax, please visit http://faxserver.tyndale.ca. Please note that this service is available only when you are on the Tyndale Campus Network or are connected to it via VPN. If you are not connected to the Tyndale Campus network, the above website link will not work.
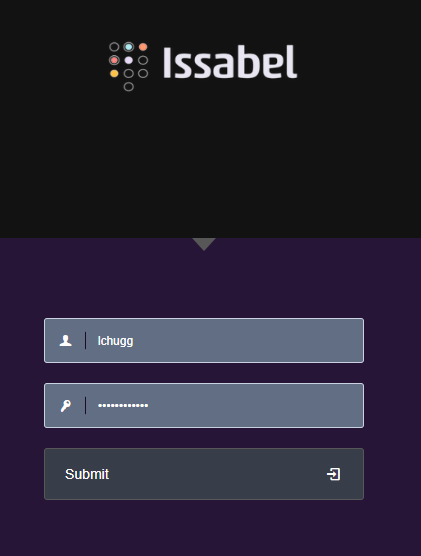
3. When you visit http://faxserver.tyndale.ca, you will be presented with the below login screen. Please enter the username and password that was assigned to you by the Tyndale IT Department and then click Submit. We strongly encourage you to immediately change your password by clicking on your name on the top right, and then click "Change Issabel Password." Type in your current WebFax password (the one you just used to login with) and then type and confirm a new password for your account. Please choose a password with at least 8 characters, an upper case character, a lower case character and a special character.
4. When you first login, you will be directed immediately to the area of the website where we can send a fax.
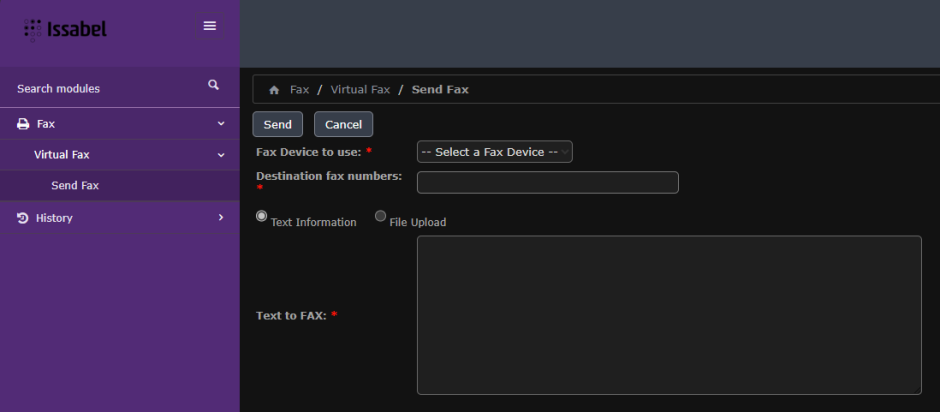
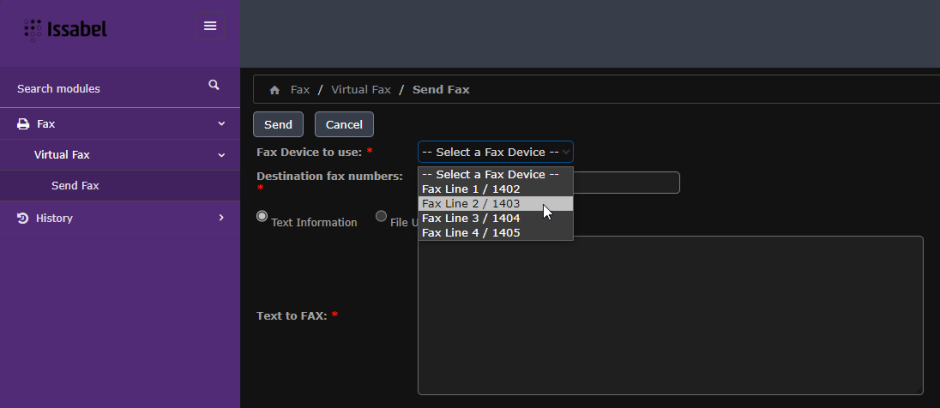
5. To send a fax, we need to select a "line" or a "device" to use. Select a Fax Device to use by clicking on "-- Select a Fax Device --" Choose any one of the four fax lines.
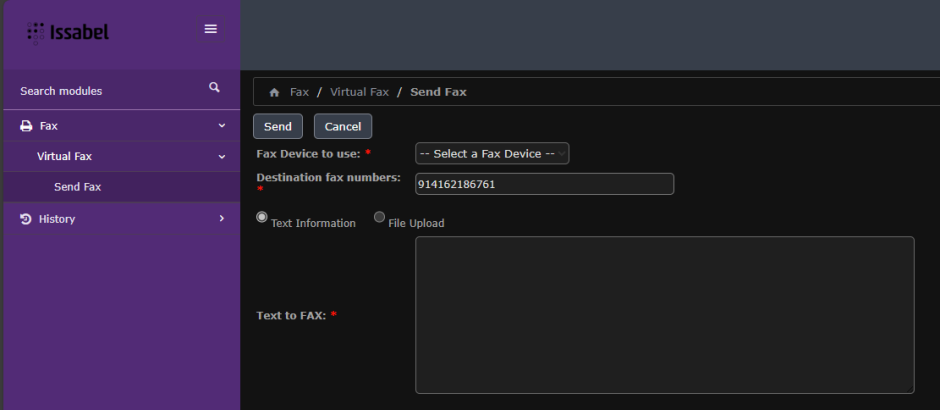
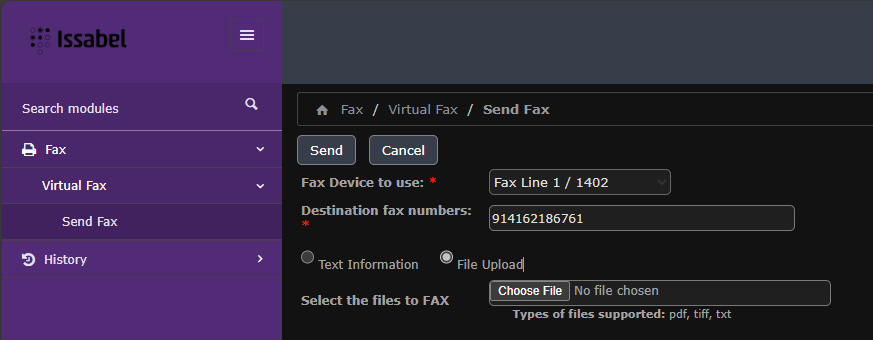
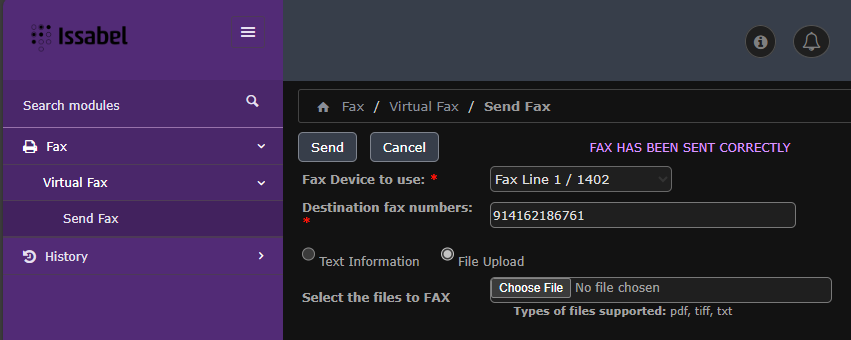
6. In the "Destination fax numbers" field, type in 9, then type in 1, and then type the phone number. For example, to send a fax to the fax number of 416-218-6761, we would enter 914162186761, as shown below (Please note the screenshot below should have "Fax Line 1" selected, as the remaining screenshots do) :
7. By default, the next option "Text Information" is selected. However, we want to ensure that "File Upload" is selected, as shown below :
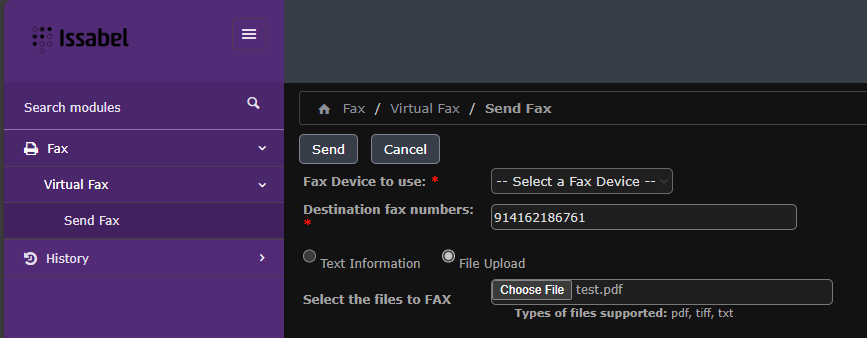
8. When the "File Upload" option is selected, we are now presented with the ability to choose which file we would like to fax. Remember that only PDF files are able to be sent in a fax. Other document types, like Microsoft Word Documents (.doc or .docx) will not work. Only PDF files are compatible with the system. Click on the "Choose File" option and then, on your computer, navigate to where the file is that you would like to fax. Select the PDF file you would like to fax, and then click Open at the bottom right. Please select and send only 1 PDF file for each fax job.

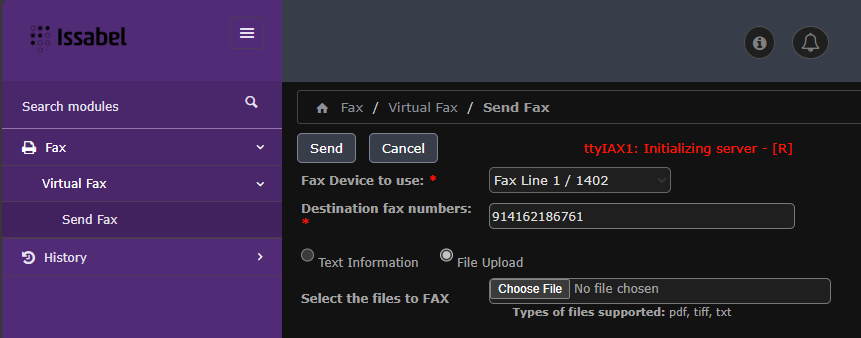
9. Now that we have selected our options as below, we are ready to send the fax. Click on the Send button, and the WebFax service will initialize.
10. Once the Send button is clicked, the server begins to send the fax as shown below. Depending on the number of pages in the document you are trying to fax, the faxing process may take 5 or 10 minutes. After clicking the Send button, you must leave this webpage open for the server to finish sending the fax and for it to display the status of the fax job. If the destination fax number is busy or is experiencing technical difficulties, the server may start a process of "retrying" to resend the fax job.
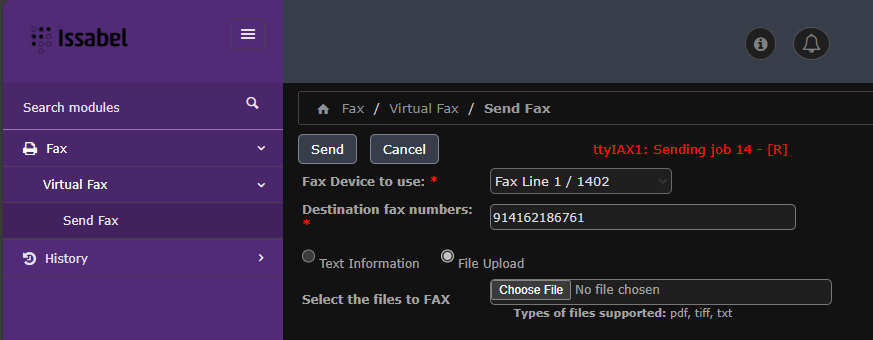
11. The server continues to send the fax.
12. As shown below, the server notifies you that the fax has been successfully sent when the words "FAX HAS BEEN SENT CORRECTLY" are displayed. If you do not receive the notification on the webpage that the fax has been sent correctly, or if you close the webpage before receiving this notification, the fax may not have been sent. On occasion, if someone else is sending a fax at the same time as you, the system may present a message of BUSY. Leave the fax window open and the system will keep your fax in a queue and will keep retrying to send it. Do not close the window until the words "FAX HAS BEEN SENT CORRECTLY" are displayed as in the screenshot.
13. Done! The fax has been successfully sent! You can close this website now or send another fax.